

It appears that many companies are now hosting their technical documentation on static sites made through services like Jekyll and Gatsby, so as a technical writer, it’s beneficial to learn how to use these tools.
Whereas the static site generator Jekyll is built on Ruby, Gatsby is built on React, which is a JavaScript library full of self-contained components. In short, React is a collection of really cool pre-coded things to help you build a working site more quickly. Although Gatsby has only been in existence for a little over a year, it’s already become an industry favorite
During a recent interview for this awesome technical writing gig, I talked about my mad tech skills with the hiring manager, and I thought the interview was going really well! Then she asked if I had any experience with static sites. I had only heard the term about two weeks prior when reading it in the job description, so I asked my partner, who is a Senior Engineer for AWS Elemental, for some guidance. He told me how he had built our Harry Potter Potions Party website using Jekyll, and suggested I test it out and write an article about my experience. Needless to say, I didn’t squeeze that in between working full time, updating application materials, and applying for jobs—but I sure wish I had!
When she had asked me if I had experience with static sites, I said that I didn’t, which likely cost me that job. Tragically, it turns out that I have over 20 years of experience creating and maintaining “static sites,” but I just had never heard them called that before! I really screwed up that interview by not knowing that what I called “websites” are now called “static sites,” as so much of the internet’s sites are dynamic, pulling from databases and other external sources to load properly.
A static site is self-contained. All the files necessary to run the site are in one location, just like the first website I had built back in 1999 after teaching myself HTML. For the past decade, I’ve been building sites around WordPress for their built-in SEO rather than hosting my handwritten files on rented server space.
Still, I have not yet used a static site generator to create websites, so let’s take on the Great Gatsby.
(I know. I know. But with two degrees in English Lit. I couldn’t resist!)
Gatsby has a tutorial on their site to help you set it up, although I did hit some snags which I’ll outline below. The first page of their tutorial recommends that you get familiar with the command line. While this might be scary to some, I love using the command line! It makes me feel like I’m a hacker in an 90s spy movie or maybe even Hardison on Leverage. Age of the geek. baby!
SETTING UP GATSBY
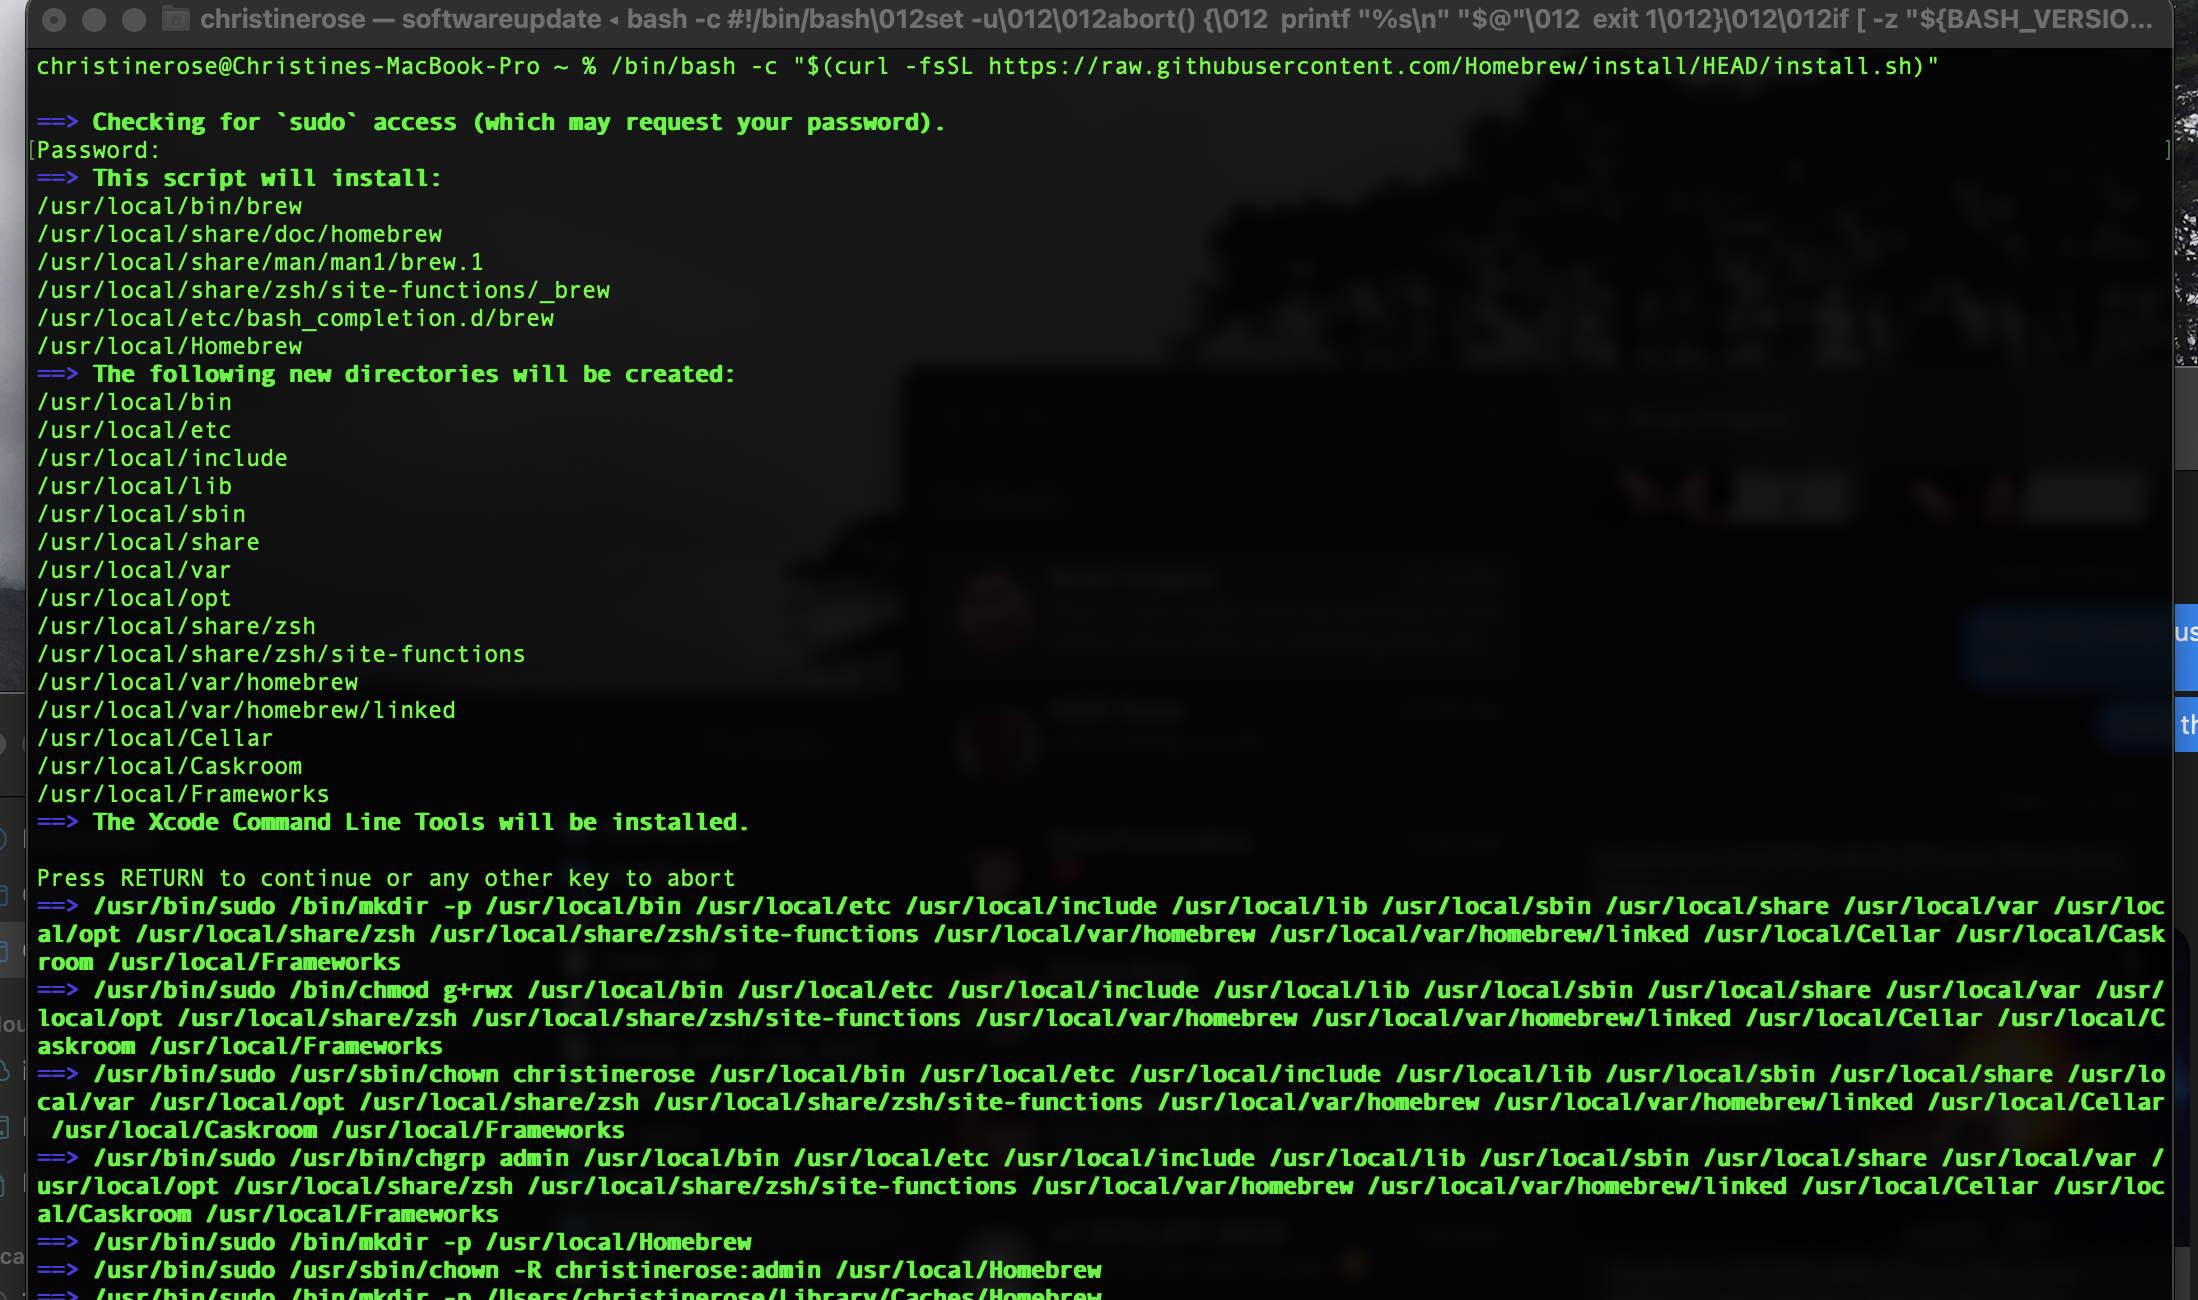
Although I have some experience with the command line interface (CLI), I still took the gentler tutorial as I wasn’t familiar with Homebrew and I didn’t have npm installed yet. Installing Homebrew was super easy: just a copy/paste into the command line (Mac), and I was ready to go in about twenty minutes. It even installs XCode Command Line Tools, which is necessary to do with each new OS upgrade to properly use the CLI.
The next step was to install nvm (Node Version Manager), which was a simple command: brew install node. Although I followed the Mac instructions for all this, they also have them for Windows, Linux, and more.
Seconds later I was ready to move forward, or so I thought! When I tried to run the command nvm install 10 to set the node version, I got an error that the command nvm wasn’t found! My programmer partner said it’s necessary to install nvm first, which isn’t apparently covered by installing node. In fact, it’s recommended not to install node first.
I used the command brew install nvm as well, but it still didn’t work; however, when I ran npm install 10 followed by npm use 10, it worked just fine. It makes me wonder if the nvm is a typo in this instance. It’s also possible the nvm commands were at the tail end of the last set of installation instructions for all the different operating systems. It wasn’t clear in the page’s formatting, so if I was their technical writer, I would start by clarifying this section.
I have had Git installed for years and use GitHub regularly, so I didn’t have to install it, which is the next step in the tutorial; however, if you need to do this, you can follow these links for Mac, Windows, and Linux.
Now it’s finally time to install Gatsby with npm install -g gatsby-cli, and voilà, you’re ready to create your own Gatsby site!
PLEASE NOTE: The path outlined in the following tutorials requires a solid foundation in HTML, CSS, and even JavaScript, which perhaps isn’t a surprise since the setup required the use of the CLI. I’ll only briefly touch on them here.
If you love to create websites from scratch, are comfortable using IDEs, and have a strong grasp of adding style elements through CSS, continue on with these tutorials. If you’d rather focus on creating content rather than constructing the initial aesthetic, skip forward to my next post on using Gatsby templates.
CREATING YOUR FIRST GATSBY SITE
Again, the instructions on Gatsby’s tutorial didn’t work for me through this part, but with some research, I found a command that helped me start my own Gatsby page:
npx gatsby new random-user https://github.com/gatsbyjs/gatsby-starter-hello-world
The above command is similar to what Gatsby provided (gatsby new hello-world https://github.com/gatsbyjs/gatsby-starter-hello-world), but it appears the npx is essential for this command . Since the rest of this section of the tutorial resulted in similar errors, consider using this tutorial to set up your first Gatsby static site instead.
That said, I found that when I created subsequent files through Gatsby, like when I cloned this template starter page, I didn’t have to use the npx at the beginning. I’ll have to learn more about how Gatsby works with the CLI as I continue exploring.
In order to edit the code of your new Gatsby side, you will need an IDE (integrated development environment), and there are many to choose from. I use VS Code, which is the one Gatsby recommends, along with its Prettier plugin to assist with formatting errors.
(Pssst: you will only need a text editor to edit the markdown if you do it the easy way. I’ll cover that next time.)
EDIT YOUR NEW STATIC SITE
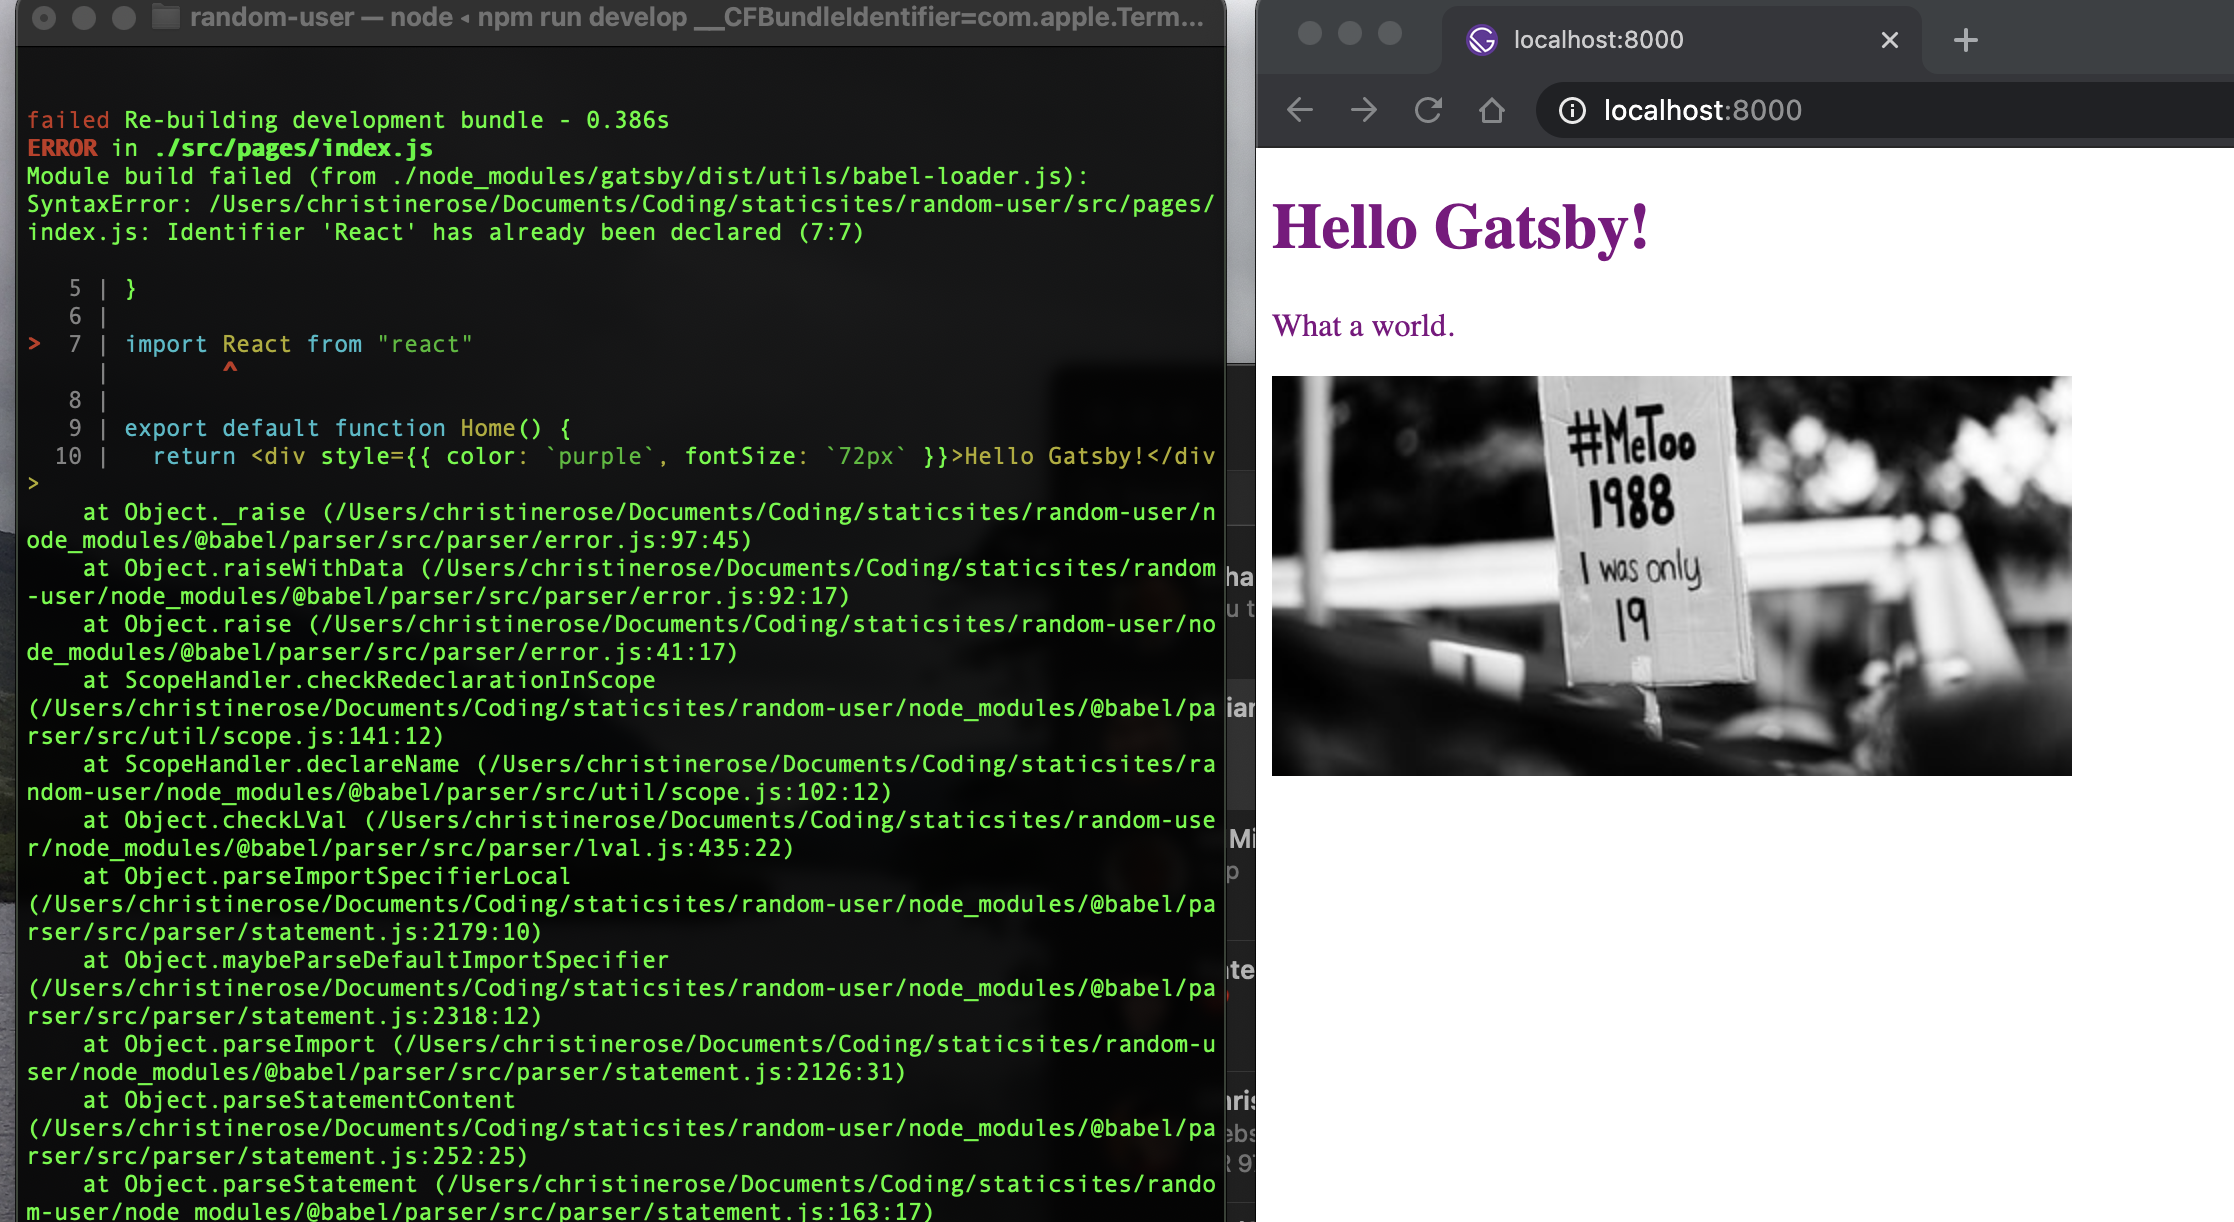
Open your new site in VS Code (or your preferred IDE) and play around with the code. Use the URL http://localhost:8000/ in a browser to watch your changes in real time. Follow the instructions on Gatsby for getting to know the building blocks, then just experiment!
Extra cool: when you change the HTML / CSS / JS in VS Code, it updates in the Terminal as Gatsby processes the site. Green text whirrs up the screen, and I feel like I’ve fallen into the Matrix.
The Gatsby “Building Blocks” tutorial takes you through some fun changes and has you create a few new files and directories, so it’s good practice for getting used to the interface. I suggest you take some time and go through it like I did, and then push it to your GitHub to share with the world.
Anytime you need to get back into your Gatsby editor, ensure you’re in the correct directory and then send this command:
gatsby develop
GIVE IT SOME STYLE WITH CSS
While the last section of Gatsby’s tutorial let you play with some simple content, the next part shows you how to add style!
The tutorial similarly takes you step-by-step through setting up some CSS files to add style to your site and introduces you to their CSS library: Standard Styling with Global CSS Files. Here you can add background colors, text colors, and font choices, plus anything else CSS can do.
Although CSS came into popularity several years after I was already creating websites, I have learned to write and edit CSS which, although more difficult than straight HTML in the beginning, saves so much time coding when building and updating sites. Change a style once in a CSS file and it will update in every HTML file that references it. Brilliant, really.
Gatsby’s tutorial gives you some simple CSS code to change your background, but you can also try different code! Check out all the different things you can configure through CSS pages and experiment! Have fun with it!
TIP: if you’re not seeing the background color change from your global.css file as the tutorial demonstrates, it’s possible it needs to be renamed to something like global-styles.css. Don’t forget to also change the call in gatsby-browser.js.
SO SO SO MUCH MORE
Truly, there is too much for me to cover in this one introductory blog post, so I’ll leave you to explore Gatsby on your own. Their nine-part tutorial continues through nesting layout components, data, source plugins, and more—leading you through one step at a time until you have your very own static site live for the world to enjoy.
Here is my repo playground for static sites to see my first attempts using Gatsby.
MY THOUGHTS
This was all much more confusing and difficult than necessary to create a static site with Gatsby. Sure, it’s required to do all that technical set up in the beginning, but after that, it’s not essential to have more than a basic knowledge of JavaScript, CSS, or even HTML.
Whereas I can see how this would be the preferred path for a team of web designers or a way to showcase one’s skills, it’s far too complicated for an individual looking to create a simple, static site. For that, check out Gatsby’s Starter Library of templates. In my next article, I’ll cover how to create a Gatsby site using one of these template, which is so much easier than building it from scratch through an IDE.

Leave a comment